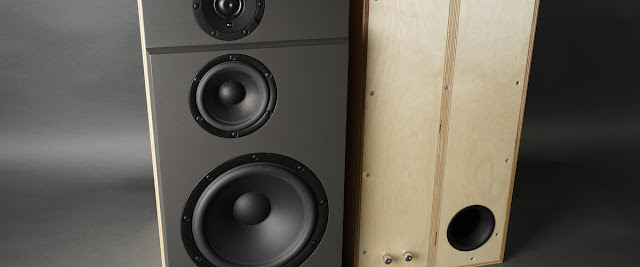
Some Kind of WAW Part 3.

A quick update on this build. I have separated the top from the bottom compartment. I made the piece out of plywood and made it a bit too long. I then used a contraption (that I don't know the English word for) to mark the shape of the baffle on the piece, as in the picture below.
I then used an electric jig saw to cut it to shape...
...slid the piece in place and marked the length of it. Made it to length on the table saw and glued it in place.
The next step was to add another layer of polyester resin to the inside and then apply layers of fiberglass rowing to strengthen it. I cut the rowing to shape with a pair of scissors and applied it piece by piece. The tricky part is to get the two different compartments airtight.
You have to leave the baffles some days to cure. They will otherwise clog your sanding tools. I started of by cleaning the edges and to dull down the surface of the T-shirt fabric. I used 40 and then 120 grit paper.
The next step is really boring. You first have to apply a layer of body filler, enough to even out the uneven surface. And then remove pretty much all of it. I used 60 and then 120 grit paper and sanded by hand.
I will keep doing this for a while until I can finish it off with a sprayable filler...


