Some Kind of WAW Part 4.

Another quick update and some words about surface prepping. I started out with a plastic body filler very similar to Bondo using plastic spatulas. A filler like Bondy is a bit too thick to work with and the plastic spatulas a bit too stiff. It is easy to get an uneven coverage and it is quite hard to work back into an even surface even if you keep the filler as thin as possible. You want to cover all of the T-shirt fabric but as thin and even as possible. I switched to a light body filler with the consistence of a cream for my second layer. I also switched to a set of silicon spatulas instead of the plastic ones. Much better and it is now easy to trick yourself that you got an even spread. Just wait until you top it off with a thin layer of spray filler or primer making it a solid color. It will highlight any imperfections but there will be less work to be done for each pass so don't give up.
This is me try fitting the elements and the baffle is covered in 1000 spray filler. It looks smooth but the surface is far from even.
Lightly sanding the surface by hand will start to giving it away.
It is pretty obvious looking from the top down and it is a result of the thicker fillers. It needs to be cut down until the surface makes an even curve.
You might also spot some felt on the inside of the baffles. It was applied with some spray adhesive. This one is my favorite and it is super strong so beware.
The felt was applied to the baffle from the inside of each chamber like this (holes where cut from the outside at a later stage).
The chambers where sealed with some acrylic jointing as can be seen in the next picture. It also shows the wooden rabbet around the bottom chamber. I could have gone with one back piece for the whole speaker and glued it in place. But the plate amps will make unique holes in the back so I thought it would be worth the extra work to make that part replaceable.
I cut a small rabbet around the back pieces since it is almost impossible to make an invisible joint between two MDF pieces, especially against some end grain. The rabbet will end up as a visible grove instead of trying to hide the joint.
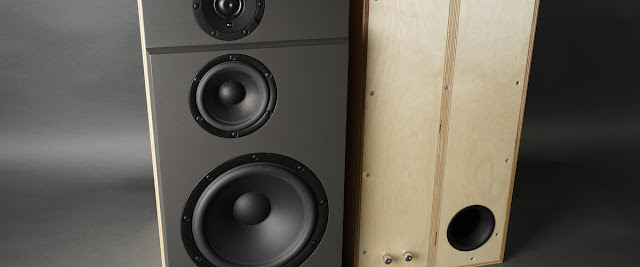
Both pieces try fitted in the picture below. The top piece will be glued in place, the bottom piece will hold the plate amp and it will be fixed by screws into the wooden rabbets.


