Prepping and painting MDF
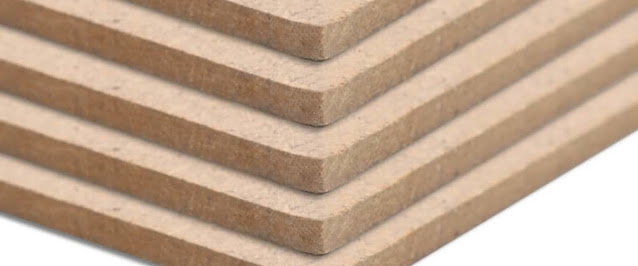
I pretty much hate working with MDF. Hard on tools and a nasty dust. I rather work with plywood or chipboard for speaker cabinets. But the latter more or less require to be covered up in veneer or something else. The only thing MDF got going for it is the fact is is cheap, available and got a pretty smooth surface if we exclude the "end grain".
There are probably endless ways of prepping and painting MDF. I have tried a few and in this post I am going to share my preferred way of doing it. Access to a nice spray gun (like a professional HVLP kit) makes things much easier but you can pull this off with a basic set of tools without too much over-spray.
Some say you cant get a professional result using rattle-cans for example. I then use to show them a picture of a guitar I built for my daughter. The body is made out of one solid piece of grainy swamp ash. I did not use any sanding sealer, only a bit of water based grain filler. I then put down around 20 layers of nitrocellulose lacquer from a whole lot of rattle-cans. I then wet sanded and polished it by hand until the surface looked like glass. The result was spectacular and up to par with a professional build.
The drawback is the time it takes to get this kind of result. It took me around two month to finish the guitar body and good knows how many brain cells. Nitrocellulose lacquer is really special to work with but you can get quite close with other materials and techniques too. Below is another example where I applied close to 20 layers of water based polyurethane lacquer on a custom made plinth for my Thorens TD-150 (material is also grainy ash but without grain filler this time). The lacquer was applied with a regular painting brush and then sanded and and polished by hand. You will never get the same kind of polished and transparent glass feel you get from nitrocellulose if you use polyurethane (it has more of a clear plastic feel to it). But it is much nicer to work with and you can still get a pretty spectacular result.
But back to MDF and lets start with the end grain. I read about sealing it with regular drywall putty at some woodworking site. I have tried many other methods but I have found this one to be the most cost efficient, easiest to apply and prep for paint. The only drawback is the fine dust it created when you sand it down. This is what the edges looks like with drywall putty applied. Lightly sand it off, most of it will go away but enough will fill up the end grain just like using grain filler on a guitar body.
The next step would be to paint the cabinets and we don't want it to take two full month to get finished. You could use spray filler and a couple of layers of spray paint. It would be fast but the surface will be quite thin and not as durable as I prefer a painted speaker cabinet. I therefor use a thick and quick drying primer. The one I use is alkyd based and intended to be sanded before covered with a top coat. I apply it with a felt roller lightly sanding between layers. This enables me to put down two thick layers a day, one it the morning and another one in the evening. This is perfect during a work week if you only work on your projects on weekends. Use the beginning of the week to lay down a good foundation, the end of the week to let it dry (some 24-48 hours after the last layer) and you are ready to go the next weekend.
The rolled surface looks quite good from a distance but is quite coarse up close. I don't know if it can be seen in the picture below. The good thing is that the paint now is quite thick and durable compared to spray filler and spray paint. We only need to get it even and I use wet sanding paper for it. Wet sanding prevent the paper from being clogged up with paint and it also makes it easier to spot the resulting surface as you go. You also get a lot of feedback through your sanding block if you do it by hand. I go gently and in no hurry. I start out with a 240 paper and finish it off with 800.
This is what the paper looks like while sanding. The paint almost turn into a slurry and you have to constantly wipe of the surface as you go. I use a damp Terrycloth.
It might seem tedious to do this by hand but it doesn't take much work or time to get the job done. It is off course a matter of ambition. I personally doesn't expect the same finish on a speaker cabinet as on a guitar but your mileage may vary.
I only used three layers of rolled on
primer this time (it was a really thick primer) so it only took a couple of days. But you now got a really durable and great even surface ready for top coat. The only tools I used was a paint roller, a sanding block and some wet sanding paper.


