The 3-Way Retro Part 7.
Time for another update. I started to fabricate the "feet" while waiting for the veneer to show up. I had this picture of the Raven II "feet" and I wanted to emulate something like it but in a wider format.
So I started by cutting four pieces from some solid ash. The angle is 8º as on the Raven II and I was using a taper jig to cut it on the table saw. Note that the front end angle would be 90º to the floor if used this way but it should be 82º as on the Raven II. Flip the pieces over or make another cut at 82º if you want to keep the gain parallel with the floor. I did not care about the back end at this time because I knew I would finish it off by cutting it and the joining piece at 90º.
I made the joining pieces from some black MDF (scrap from the baffles). I used a 15º degrees angle a piece, cut the bottom piece to size and the width of the top piece a bit oversized (a 1 mm overhang). I used the router to trim it flush with the ash pieces after I glued them together.
This is how it turned out. It is hard to see but the front end of each "leg" is angled 82º to the floor.
And this is what it looks like from the back. I cut it all off on the table saw so the back end is 90º to the floor. The ash and black MDF is treated with two coats of hard wax oil and two layers of wax.
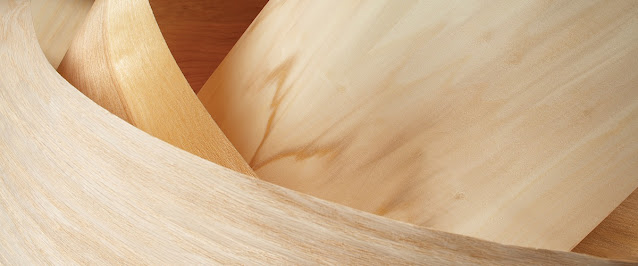
The veneer finally arrived from Germany. I had to wait for the delivery more than 70 days! The delay was probably caused by a combination of high demand for the product and COVID-19. I have wanted to try out Decoflex for quite some time. It is a 0.6 mm thick paper backed wood veneer. I bought a 240 x 120 cm piece and it comes delivered rolled up, quite handy.
Contact cement is often recommended for paper backed veneer. This was the first time I used it in gel form. I have seen examples of application using a foam roller or a spatula. I tried both. The roller was a nightmare, the spatula worked fine after some practice. Working it for too long will make it lump up so the trick is to be swift. I used a much wider spatula than the one in the picture and it worked quite well. But I have to say that I hate working with contact cement just as much as I hate working with MDF.
I was hoping the veneer would be a bit more lively but it was quite even in color and grain. I was also a bit worried how it would mate to the solid wood used for the front edges. Would it match up in color and would it look seamless? I think it turned out quite well.
I cut the pieces with a utility knife but used a pair of scissors to trim it as flush as possible before I finished if with the trim router. To much excess and the paper clogs the router bit and leaves a lot of paper gunk on the work piece. The ash is crazy blonde untreated. I finish it off with two coats of hard wax oil and two layers of wax.
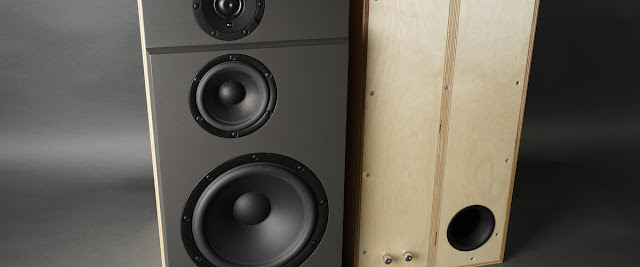
This is a preview of the finished cabinet after two layers of hard wax oil. I really don't know how I feel about the blonde ash? I think the Ravens look better in its darker wood. I usually like ash better than Pine and Baltic birch. I also like the warmer color of ash vs. the more pinkish or gray hue in oak. But it might have been better to opt for oak in this build but I really don't know.
This is what the cabinet looks like on its feet from the front.
And this is what it looks like from the back (I haven't taken up the holes for the speakON connectors yet).
The hard wax oil have to cure and the wax has to be applied before I can finish the speakers and start working on the DSP and the power amps...


