The 3-Way Retro Part 3.
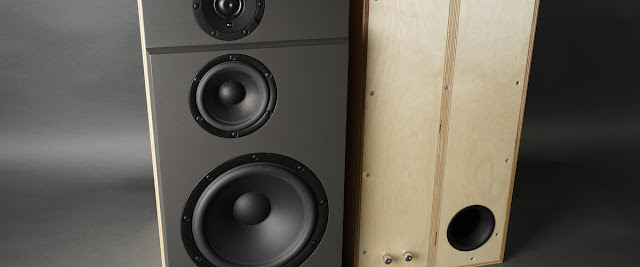
Building the speaker cabinets could be really easy. Two sealed boxes with 30 to 35 liters for the woofer and 1.8 to 2 liters for the mid. But making it inspired by looks of Fern Roby's Raven and Raven II is making it a bit more complicated. I picked a couple of critical design elements, the slanted edge wood on the front and the rabbet between the edge wood and the baffle. I also wanted the slanted edge wood to be solid. The rest will be veneered.
Next decision was type of wood. I love the dark wood used for the Ravens but I would like something lighter as a contrast to the rest of our furniture and decoration. The natural choice here in Sweden would probably be oak but I find it a bit cold in hue. So I found myself once again picking ash. The contrast with the black baffles might be a bit too much but it could also be quite striking. Time will tell...
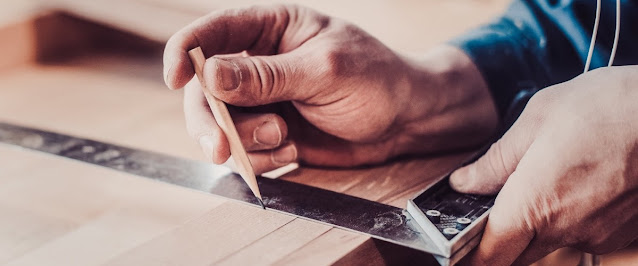
I started out by ripping some 15 mm thick sticks out of a 22 mm thick plank of ash.
I then made a set of outer walls using 16 mm MDF. Beech Plywood would have been even better but I didn't have any at hand and the price I was quoted at the local dealers where ridiculous. I did not dare to use chipboard since I wanted to glue my ash sticks to the edges and I wanted a solid foundation. I used the table saw and a cross cut sled to make the rabbets and grooves (will be used for the inner walls).
I then glued the ash sticks to the forward facing edge of the outer walls. I will use them to emulate the solid feel of the Ravens.
I finished of the edges with a 15 degree slant as soon as the glue was fully cured.
Next up was the baffles. I used 19 mm (3/4 inch) black MDF. I first cut a groove paired with cut from the edge to make the rabbet between the edge wood and the baffle.
The depth of the groove equal to the inner thickness of the slanted edge wood.
The next step was to use the router to countersink all elements on the baffle and then apply a couple of layers of hardwax oil on the front side.
Note: Do not forget to mirror the baffles (make left and right opposite of each other)!
The final step was to glue all outer walls together and the baffle from the inside towards the inner edge of the slanted edge wood. Look at that nice solid edge and the rabbet between the baffle and the edge wood!
So far so good. Stay tuned for my next build update.


